
This article walks through the exact credentials you need from each payment provider and where to find them. You only need to set up one provider — choose the one that fits your business.
Opening the connect form
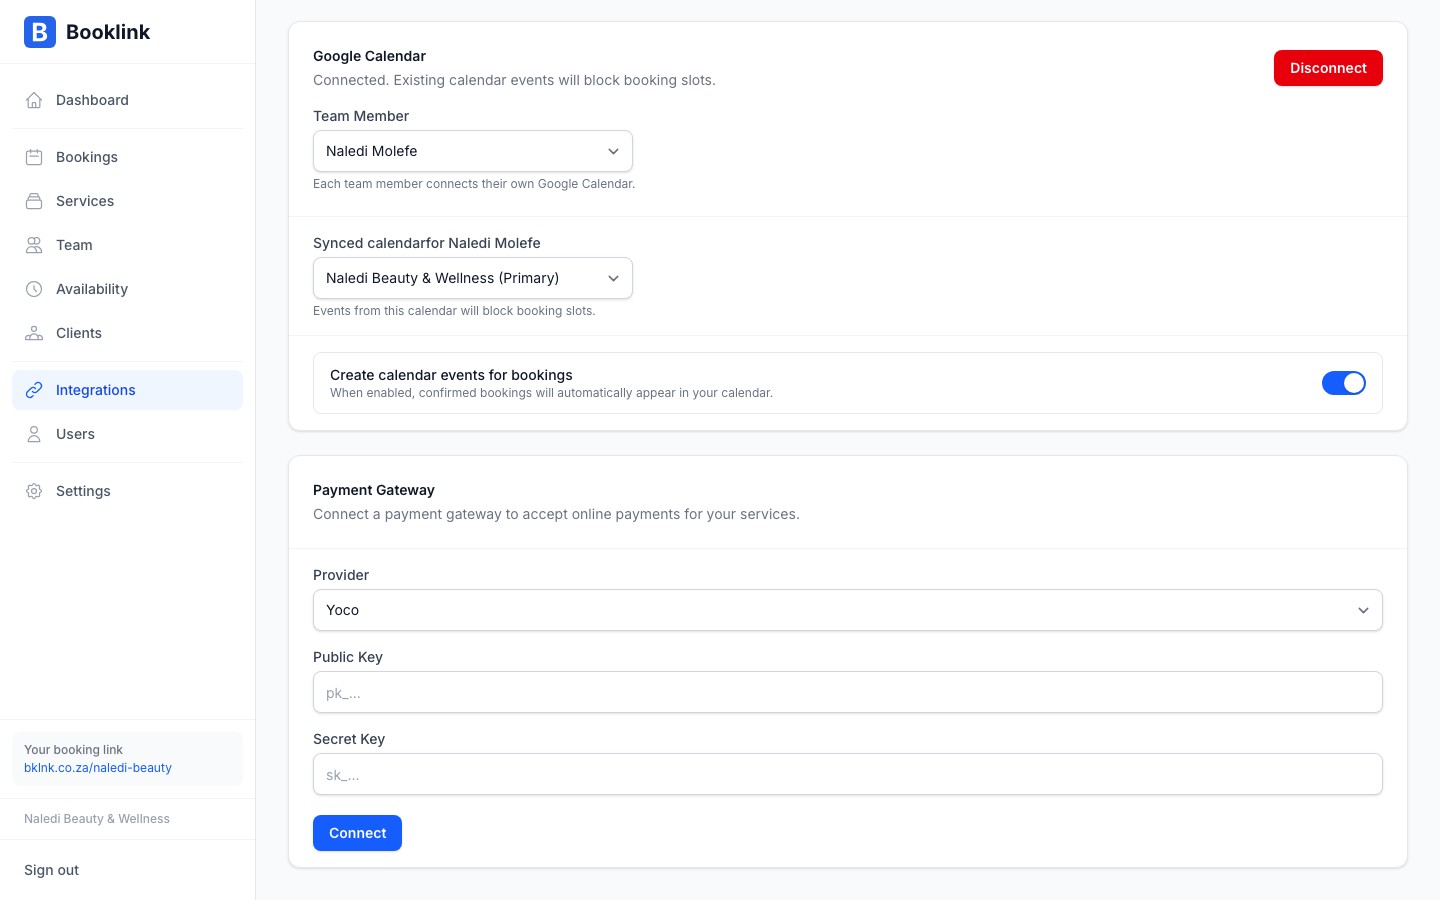
Go to Payments in the sidebar and click Connect gateway. The connect form opens. Select your payment provider from the dropdown to see the relevant credential fields. Booklink verifies the credentials with the provider when you connect, so typos are caught immediately.
Setting up Yoco
- 1
Get your Yoco API keys
Log in to your Yoco Business Portal at portal.yoco.co.za. Navigate to Settings → Developers (or API Keys). Copy your Live Public Key and Live Secret Key. - 2
Enter the keys in Booklink
In the Booklink payment setup form, select Yoco as your provider. Paste your Public Key and Secret Key into the respective fields. - 3
Save and test
Click Save. Set a price on a test service, make a booking through your public page, and complete a card payment to verify the integration is working.
Setting up Paystack
- 1
Get your Paystack API keys
Log in to your Paystack Dashboard at dashboard.paystack.com. Go to Settings → API Keys & Webhooks. Copy your Live Public Key and Live Secret Key. - 2
Enter the keys in Booklink
Select Paystack as your provider in the Booklink connect form. Paste your Public Key and Secret Key. - 3
Add the webhook URL in Paystack
After connecting, Booklink shows a Paystack webhook card with a unique URL. Copy it and add it in your Paystack dashboard under Settings → API Keys & Webhooks so Booklink receives payment notifications. - 4
Test
Make a test booking through your booking page to verify payments flow end to end.
Setting up PayFast
- 1
Get your PayFast credentials
Log in to your PayFast account at payfast.co.za. Navigate to Settings → Integration. Copy your Merchant ID and Merchant Key, and set a Passphrase if you have not already. Booklink requires a passphrase; PayFast uses it to sign every payment notification so we can trust it. - 2
Enter credentials in Booklink
Select PayFast as your provider in the Booklink connect form. Enter your Merchant ID, Merchant Key, and Passphrase. All three are required. The passphrase must match the one in your PayFast dashboard exactly or checkouts will fail. - 3
Connect and test
Click Connect and make a test booking to verify. Book the test with an email address that is not the one you log in to PayFast with: PayFast refuses a payment from the account that receives it, and the payment will not start.
Setting up iKhokha
- 1
Get your iK Pay credentials
Log in to your iKhokha merchant portal and create an iK Pay application to get your App ID and App Secret. - 2
Enter credentials in Booklink
Select iKhokha as your provider in the Booklink connect form. Paste your App ID and App Secret. Tick Test mode if you want to trial the flow with sandbox payments first; a badge on the Payments page shows whether the connection is in Test mode or Live. - 3
Connect and test
Click Connect and make a test booking to verify. When you are ready for real payments, reconnect with Test mode unticked.
Use live credentials for real payments
Test or sandbox credentials will not process real payments. Once your test run looks good, switch to your live credentials and do a small live transaction to confirm everything is working correctly.